

Coffee 101: An Espresso guide for home
There are so many ways to make delicious espresso, so we recommend taking any brewing guide with a grain of salt and do as much experimentation as possible. There really aren’t any clear rules, and every different coffee requires different treatment, but here’s a quick guide to get you started - think of it as a launching pad to explore the world of flavours you can achieve.
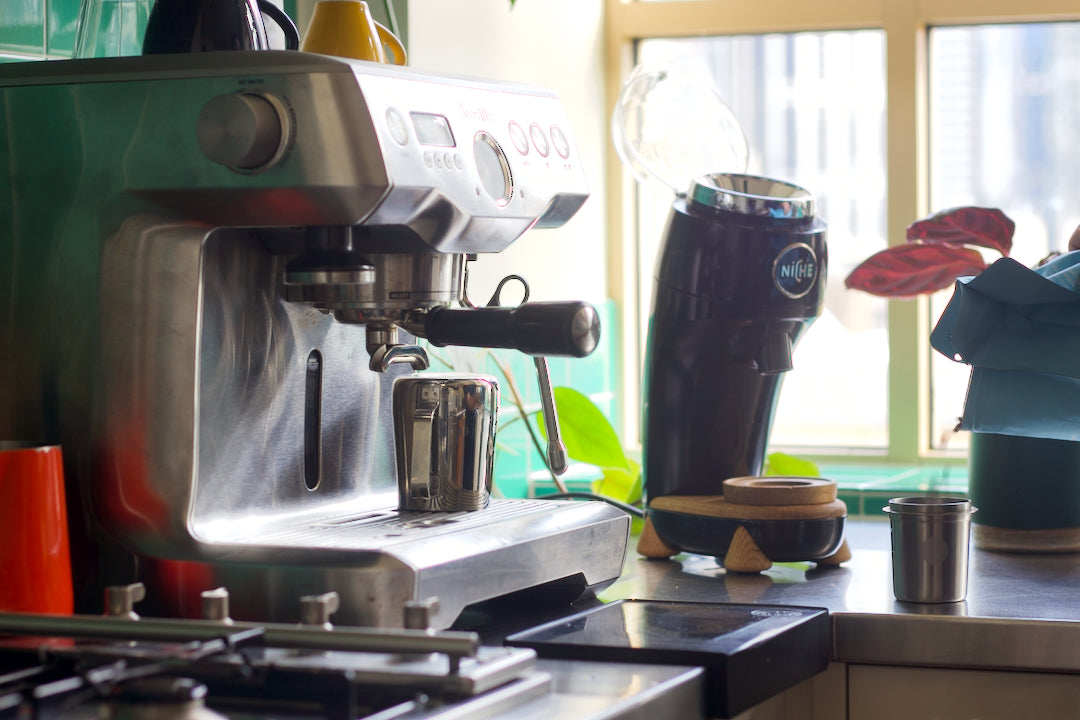
What you'll need:
An espresso machine, a quality grinder that can grind quite fine (most cheap hand grinders don’t do a great job at this), scales, a tamper, and a milk jug if you want that creamy latte.
Dosing your basket:
This is the amount of dry ground coffee you will be using, and it depends on a few different factors. Firstly, the size of your baskets. Most cheap domestic machines come with a ‘double’ basket (we generally recommend throwing the single basket in the bin), which will probably carry somewhere between 16-19g of coffee. Higher end machines with commercial spec handles will generally take whatever basket size you want to put in - we recommend VST 20g or 22g baskets. Secondly, the strength of beverage you want. Bigger baskets equals more coffee equals more espresso, which will give you a higher total beverage strength, if you’re making a long black or milk coffee.
Use a dose that works for your baskets. I’ll be using 20g baskets as a guide, but if you can only comfortably use 17g in your baskets, don’t cram more than that in. Just use an appropriate brew ratio, which we’ll get into. I recommend 22g baskets for most busy cafes.
The steps:
- Start with a clean machine. Take your handle out, purge some water through the grouphead, make sure your basket is nicely clean and dry.
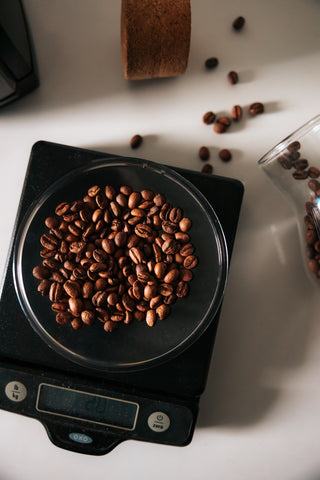
- Dose. Tare your handle on your scales, fill the basket with 20.0g of coffee (or however much your baskets hold comfortably.
- Make sure that the coffee is evenly distributed in the basket, with as little clumping as possible. The coffee should look like a flat bed of sand before you tamp.
- Tamp. Make sure your tamper is dead flat. Straight in, straight out. You don’t need to twist, knock the side of the basket, or anything else.
- Lock your handle into the group
- Get your cup on a set of scales, tared at zero, and have a timer ready.
- Start your timer as soon as you engage the pump on the machine.
- As a starting point, we like to get double the amount of espresso in the cup as the amount of dry coffee we used. So for a 20g dose, we aim for 40g in the cup. Similarly, for smaller doses like 17g, you’ll want 34g of espresso in the cup.
- Time. We aim for 30 plus or minus 2 seconds of contact time. This means that the water is being pushed through the bed of coffee for 28-32 seconds from start to finishing, in order to achieve our 40g beverage yield.
Grind for CONTACT TIME
If your 40g espresso is taking less than 28 seconds, or is tasting under-extracted (sour, thin, tart, lacking body and sweetness), you will need to make your grind setting finer. The small particles of coffee can be pushed closer together to provide more backpressure for the water-column, which will increase your water contact time and hopefully boost your extraction.
If your 40g espresso is taking longer than 32 or maybe 34 seconds and is exhibiting some over extracted flavours (dry, panadol, astringent, acrid), you may need to decrease your contact time by grinding slightly coarser. This increases the particle size which provides less backpressure to the water, and reduces the amount of time that the coffee spends with the water, decreasing extraction.
Refer to our blog post titled Extraction 101 where we delve deeper into the science of coffee extraction.
Leave a comment
This site is protected by hCaptcha and the hCaptcha Privacy Policy and Terms of Service apply.