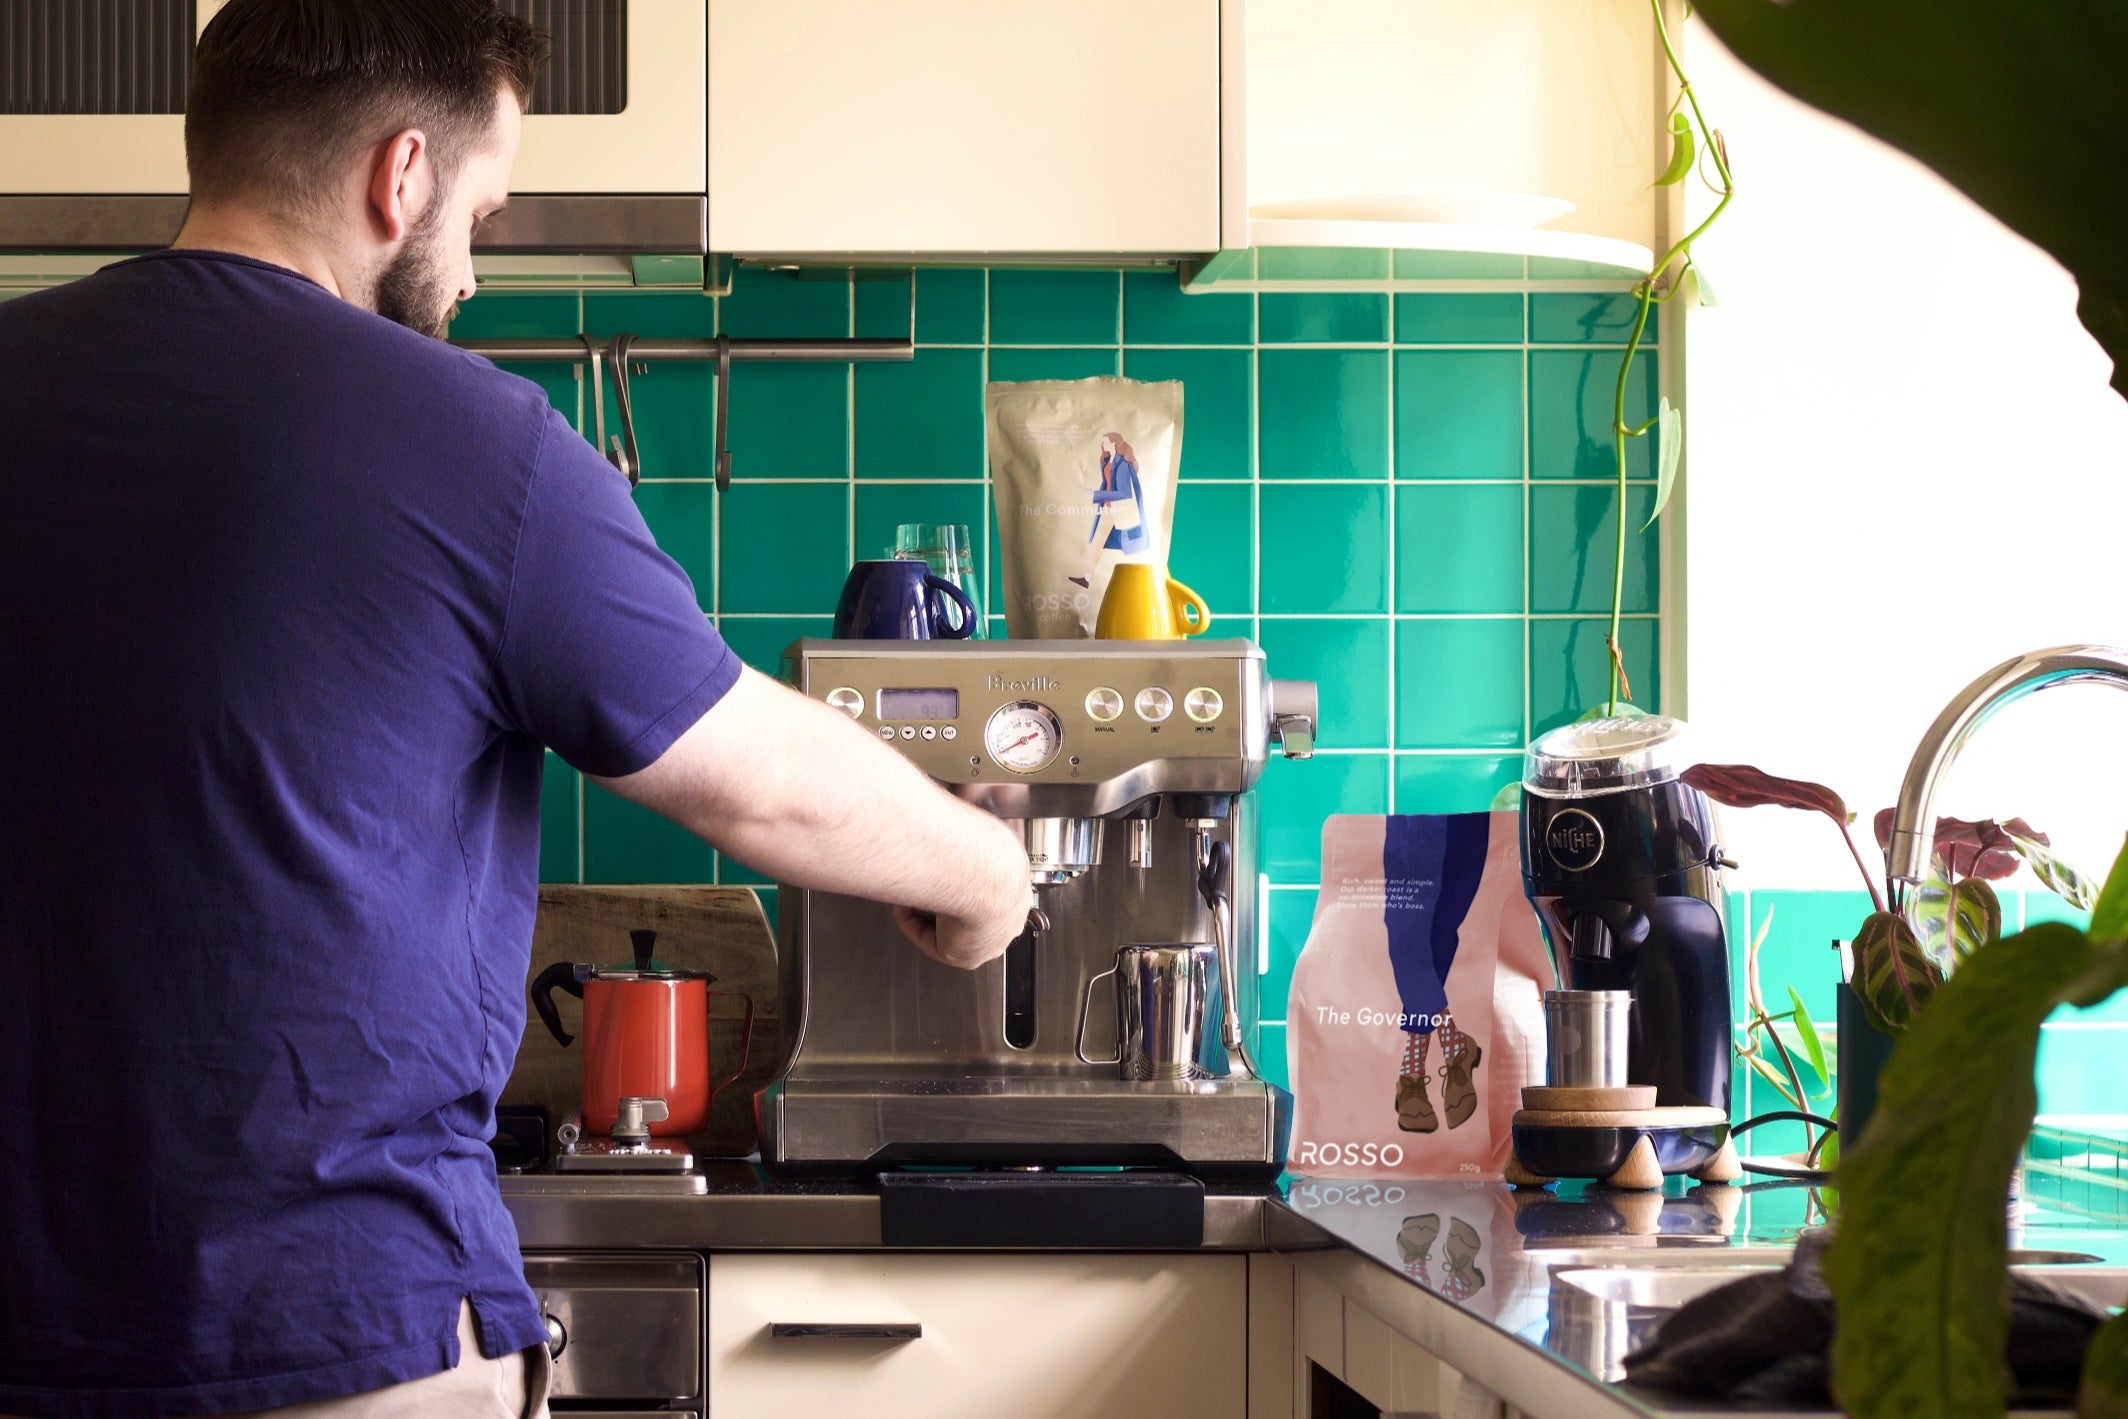
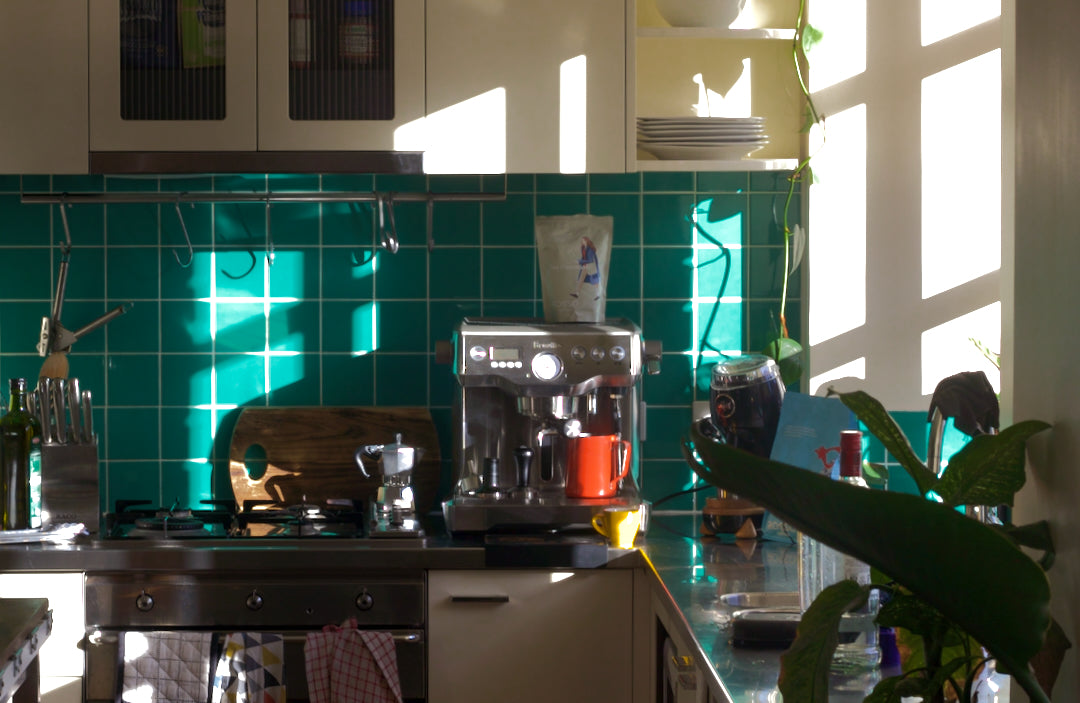
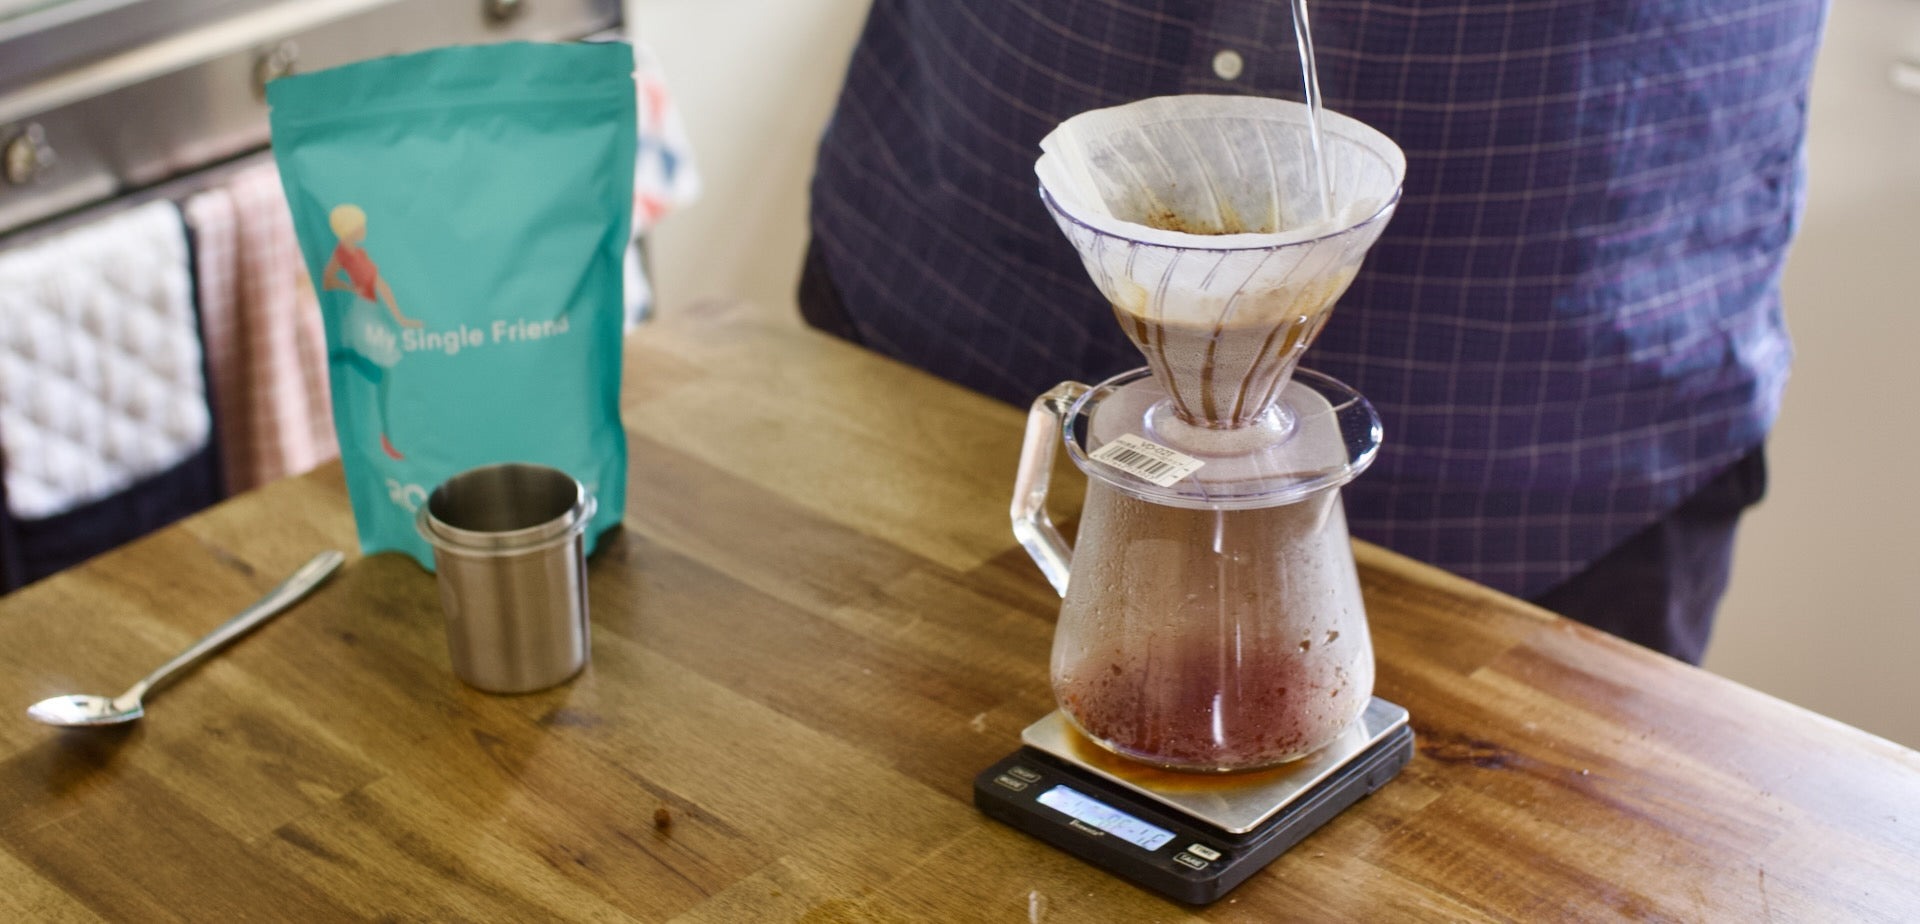
We sat down with our superstar Barista and VIC Accounts Manager, Zac, to give you some tips and tricks on preparing the best possible tasting coffee at home, using your espresso machine and our delicious Governor blend.

The Governor Espresso Guide
Step 1: The Coffee Grind.
When we grind our coffee beans, we are essentially creating small, sand-sized particles of coffee that are fine enough to create sufficient resistance for espresso to extract evenly.
The grind size of your coffee is going to dictate whether our espresso extracts like liquid gold (good) or gushes out watery and thin (bad).
When coffee is too coarse, like the texture of rock salt, water will pour through the "bed" of coffee at a fast rate, and the coffee coming out will look yellow and watery. This means the water has had insufficient contact time with the coffee and resulted in an unextracted espresso.
On our grinder, the Niche Zero, we have set the grind size to 10. This is the equivalent of a 12 on most domestic grinders. Get in touch with us if you're after any specific advice for the machine you use at home.
Step 2: Tamping
How to prepare your "coffee puck".
This is an important step that is often overlooked by the home barista and can be the reason why your coffee isn't tasting like a cafe coffee.
What we want to do is ensure that the coffee is evenly spread throughout the "basket", so that the water in the machine will evenly flow through the coffee.
After we've created a flat base. We need to "tamp down" to compress the puck into a bed of coffee.
Make sure that when you're tamping, you're applying pressure evenly and level. Most tampers have a clear line about 5mm above the base of the tamper, that usually seperates raw stainless steel and a coloured plastic, metal or wood. Use this line to guide your leveling while you tamp and you're golden.
Apply enough pressure that you can physically feel the bed of coffee compressing. Not too much though, as you can make the bed too tight or even hurt yourself. Make sure you're tamping with your should weight and don't put all the pressure on your wrist!
Step 3: Pulling the shot
What we're looking for is something that resembles flowing caramel - liquid gold is what we call it in the biz. Coffee will run down the portafilter in the same texture and speed of warm honey falling off a dipper.
If your coffee is running out too fast, try "tightening" your grinder by lowering the number on the grinder. This will result in finer grinds, and therefore create more resistance when extracting.
If the oppoisite is happening, and coffee isn't coming out at all. Your grind may be too fine! It's time to do the opposite and "loosen" your grinder. This will result in coarser grinds, which lets the water pass through the bed of coffee at a better flow.
Step 4: Frothing the Milk
Let's make some silky milk!
Milk texturing is the hardest skill to master in the cafe. It's that final hurdle you have to jump before you can call yourself a latte slinger. It is quite tough to learn, but it's incredibly simple if you follow these tips!
Firstly, you want to ensure you have the right amount of milk in your milk jug. A good rule of thumb is to fill the jug just before the spout starts to veer out. If you do this, half the work is done for you already.
What we're going to do is place our steam tip, just above the surface of the milk on the left or right side, at a 45 degree angle and turn on our steam wand. We will see a few bubbles and hear the sound of paper ripping. Then, after a few seconds, we're going to put the steam tip into the milk, just below the surface and try to create a whirlpool effect.
Once we see the milk rotating and spinning inside the jug, we know that the air is being properly incorporated into the milk. Once the jug is just too hot to handle, we're going to turn off the steam wand and give it a wipe, and turn it back on for a few seconds just to "purge" any excess milk out of the wand.
Step 5: The Pour
Once you've mastered the art of espresso preperation and milk texturing. It's time to put those skills to the test and whip together a kick ass latte!
To ensure you get the right level of "froth" on the top, barista's use a cheeky technique that allows you to modify the level of froth by the way that we pour! If you pouring your milk from up high, the milk will crash into the espresso and it will reduce the amount of microfoam in your latte.
Once you start doing any kind of art on top, you will bring the milk jug closer to the glass, almost touching the metal rim with the rim of the coffee. This will create a layer of seperation and also create a thicker froth on top.
Enjoy!
A barista-quality coffee, from the convenience of your kitchen at home. That's all there is to it, really, after you've mastered those simple skills, you'll never forget how to make a barista-quality latte ever again - it's like riding a bike.
Our Governor blend is a favourite amongst many of our VIC cafe partners, as it's rich chocolatey body creates a wonderfully rich-tasting coffee, without the need for any sugar.


Leave a comment
This site is protected by hCaptcha and the hCaptcha Privacy Policy and Terms of Service apply.