

CUPPING: The why and how | by Robert Savage

Cupping is the industry standard benchmark in assessing quality of coffees that we use, as well as the roasting profiles that we develop. It’s the backbone of the quality control programs that any roaster worth their salt should be using and educating their staff in, and it’s my firm belief that baristas at any level, as well as café operators, should be familiar with and doing often. It allows you to get a great overview of several coffees at once with minimal fuss. You don’t need to dial in several samples separately, so you can assess and compare lots of brown on an even playing field.
Here’s a quick guide of how to set up and run a cupping. It’s intended for beginners, so I won’t be going into much detail of the technical sensory assessment of coffee, but here is a link to the SCA cupping protocols for more advanced users:
http://www.scaa.org/PDF/resources/cupping-protocols.pdf
- Have your bench nice and tidy. Organise your scales, cupping bowls, roasted samples, spoons, rinse-water, and spittoons ready to go.
- Weigh your samples into the bowls. SCA recommends 8.25g/150g of water. We rock 12g of coffee for our bowls, but you’ll need to work out your ratio depending on your vessel size.
- Grind! We set all coffees to 5 on our EK grinder, which is a little finer than what most labs have been doing throughout my time in coffee. There’s good reason for this; grinding a bit finer produces better uniformity in particle size, and higher extraction. This means we can taste a lot more of what’s going on in our coffee due more even and higher extraction. I’ve been to several slurps lately where they’re still grinding super coarse, everyone always comments of clarity and brightness – yep that’s usually because the coffees are low strength and under-extracted. Don’t hide from what’s truly happening in the cup!
- Give the dry grinds a good hard sniff, take some notes on what you smell.
- Water. Hot. Start your timer and dump the water in, saturating as much as you can. Don’t be too careful, it’s fine to pour vigorously and get all the cups full as quickly as you can – you don’t want too much time variance.
- Wait 4 minutes, then break the crust with the back of the cupping spoons, sniffing as you go. Take more notes, have a talk about what you smell.
- Scraping. This takes a little while to get used to doing. Once practiced, you should be able to remove the scum from the surface of the bowl with two or three motions without taking out half of the liquid. It’s ok if there’s a little left on top, I’ve never seen anyone pick up every last bit…
- Wait another ten minutes or so for the cups to cool and fully settle. Nothing worse than spraying your tongue with still hot coffee and sitting the rest of the night out with a burnt mouth.
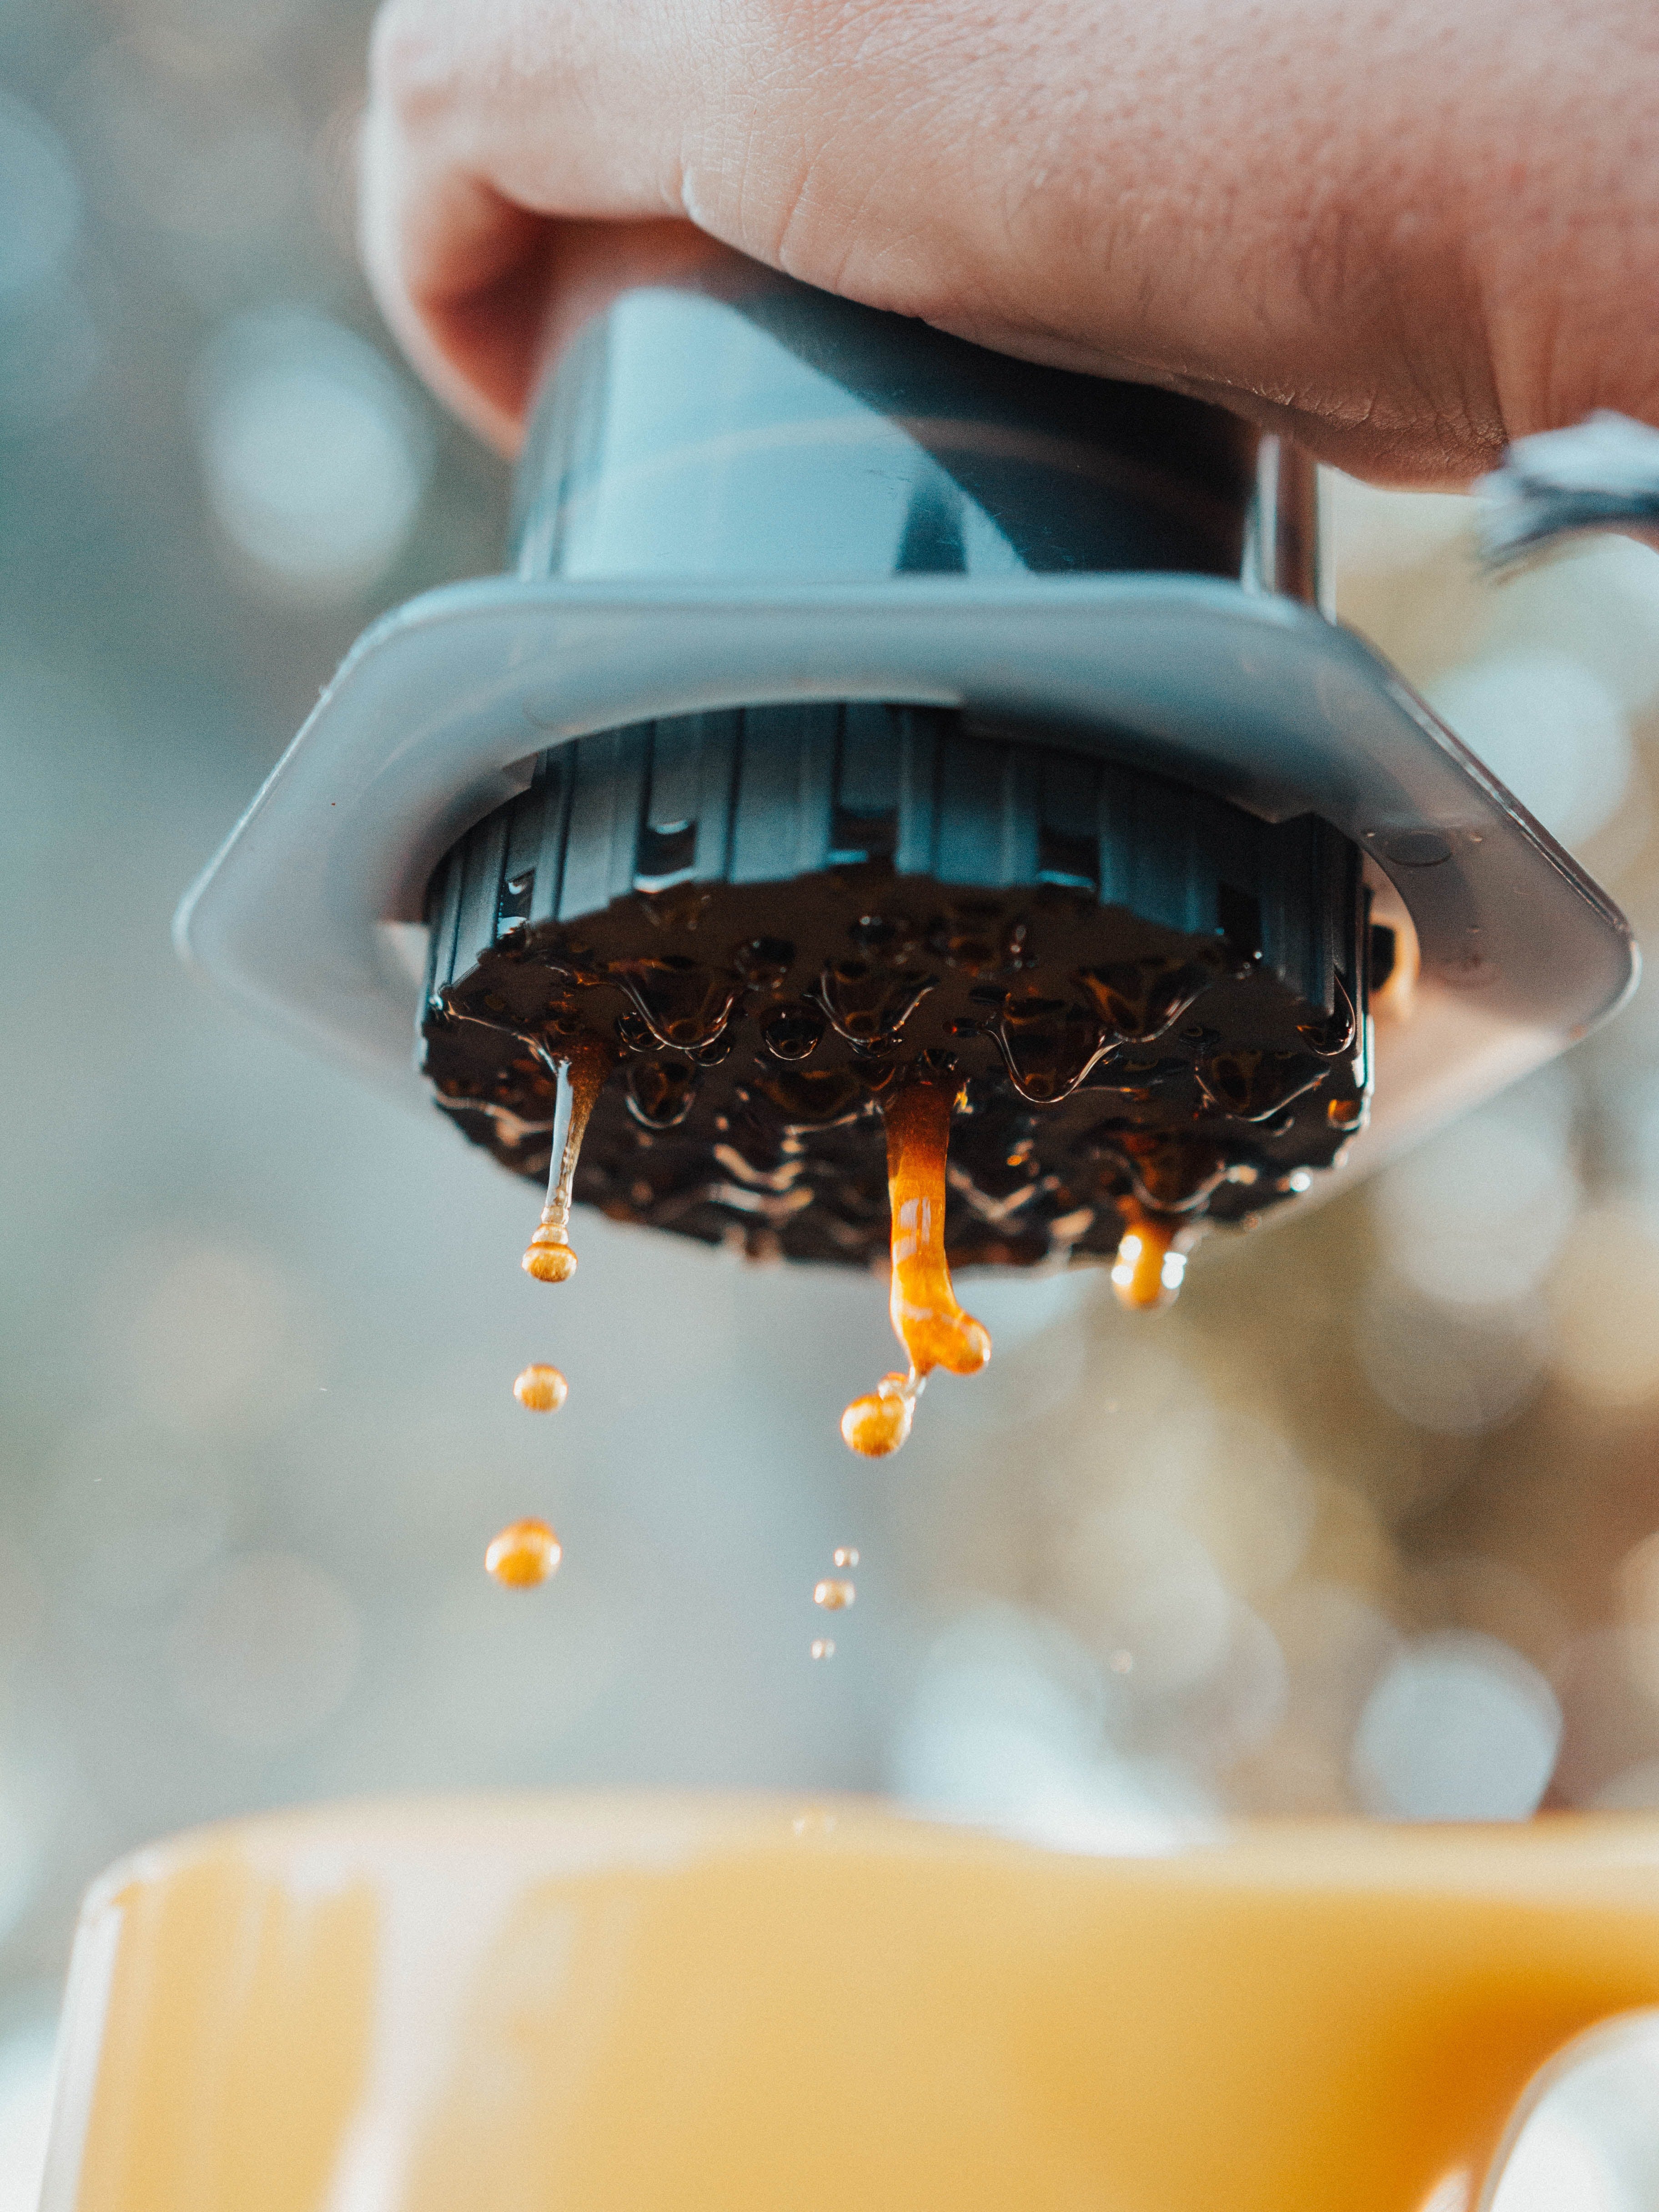
- Mojo. This is more relevant for roasters and advanced baristas but using a coffee refractometer should make its way into all good baristas repertoire. They are the only simple objective way to assess extraction, which gives roasters a tonne of real world feedback on what they’re doing wrong (or right). It’s also great at the front end, where baristas can be sure that what they are serving to customers is well within range, and be more confident in spotting poorly roasted or brewed coffee.
- Have a slurp. It’s good etiquette to use the far side of the spoon for dipping, and the near side for slurping. Hold it up to your mouth and suck the coffee off the spoon, taking in air to spray the solution over you taste buds. Swirl it around your mouth, let the flavour unfold, and then spit it into a spittoon. Repeat with all the coffees.
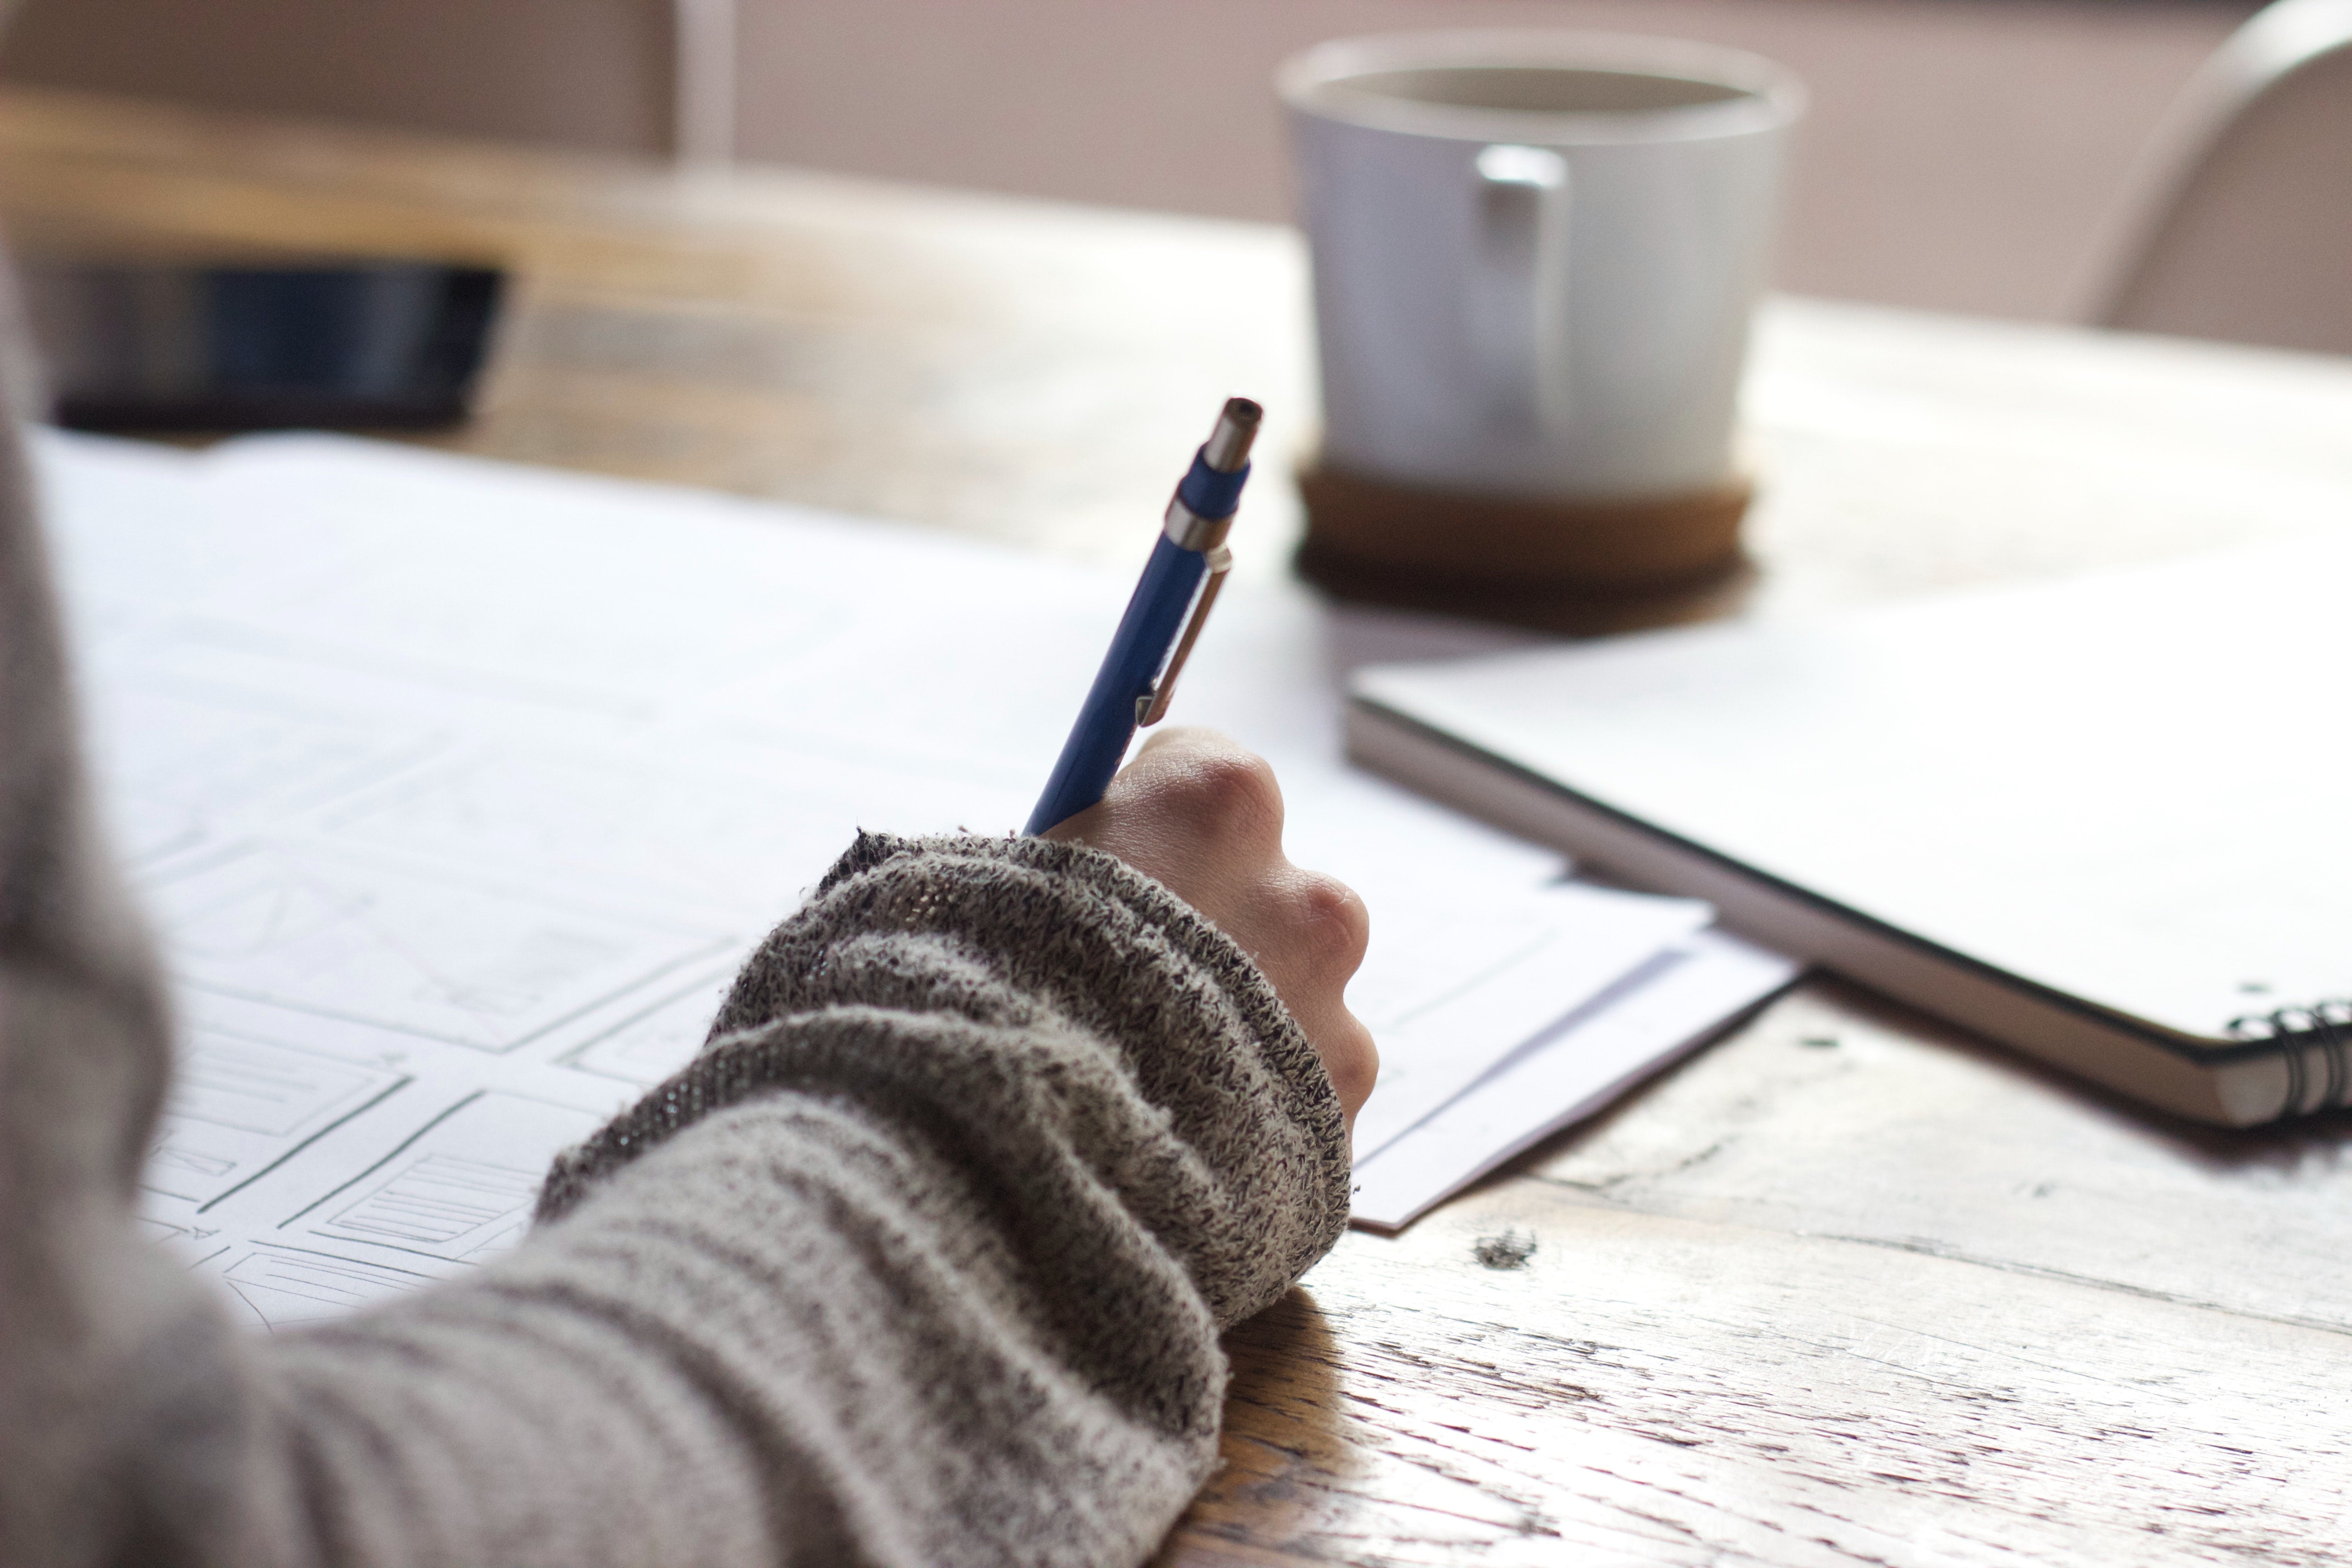
10.Talk. Take notes. Talk some more. Listen. Learn.
Leave a comment
This site is protected by hCaptcha and the hCaptcha Privacy Policy and Terms of Service apply.